
There are plenty of apps and desktop software you could use for writing your blog posts and website content. Some are better than others, but Google Docs handles writing content for your website much better than most.
What is Google Docs?
If you’ve never heard of Google Docs, it’s basically a web-based version of Microsoft Word. It’s a word processor that allows you to write and edit text inside your browser (Chrome, Safari, Firefox, etc) window. You’ll have access to many of the tools you’re used to seeing in other word processing programs. Bold, italic, text alignments, font sizing – they’re all there.
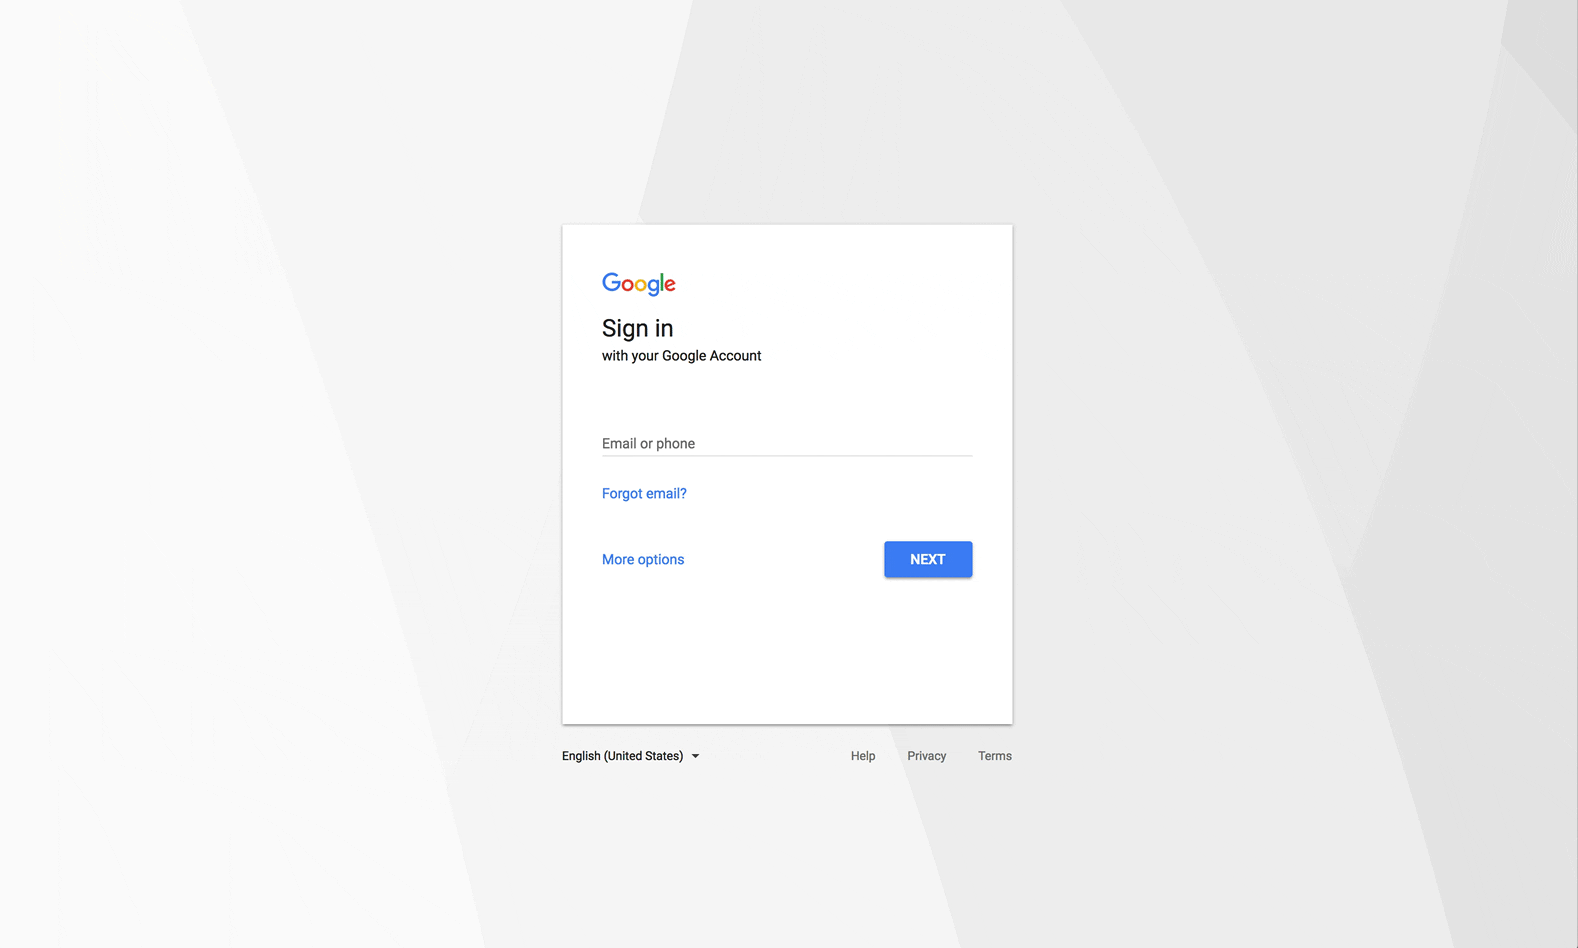
To access Google Docs, visit docs.google.com and log in with a Google account. If you have a Gmail address, it’s the same username and password. If you need to create a Google account (it’s free), click on “More options” and choose “Create account.”
Why is Google Docs good for writing content?
There are plenty of reasons to use Google Docs for this type of writing, but for starters, it’s free. But probably the most important reason is that it adds the correct HTML tags to your writing when you copy/paste into your website’s CMS (WordPress, Squarespace, etc).
Every webpage is made up of HTML code consisting of tags that tell your computer how to display the page. For example, the title of your page is usually enclosed in an <h1> tag.
These tags are important not only for your site to be displayed correctly to visitors, but also for Google and other search engines to understand and accurately rank your site. In other words, when these tags are used incorrectly, you may see an negative impact on your site’s ability to rank in searches.
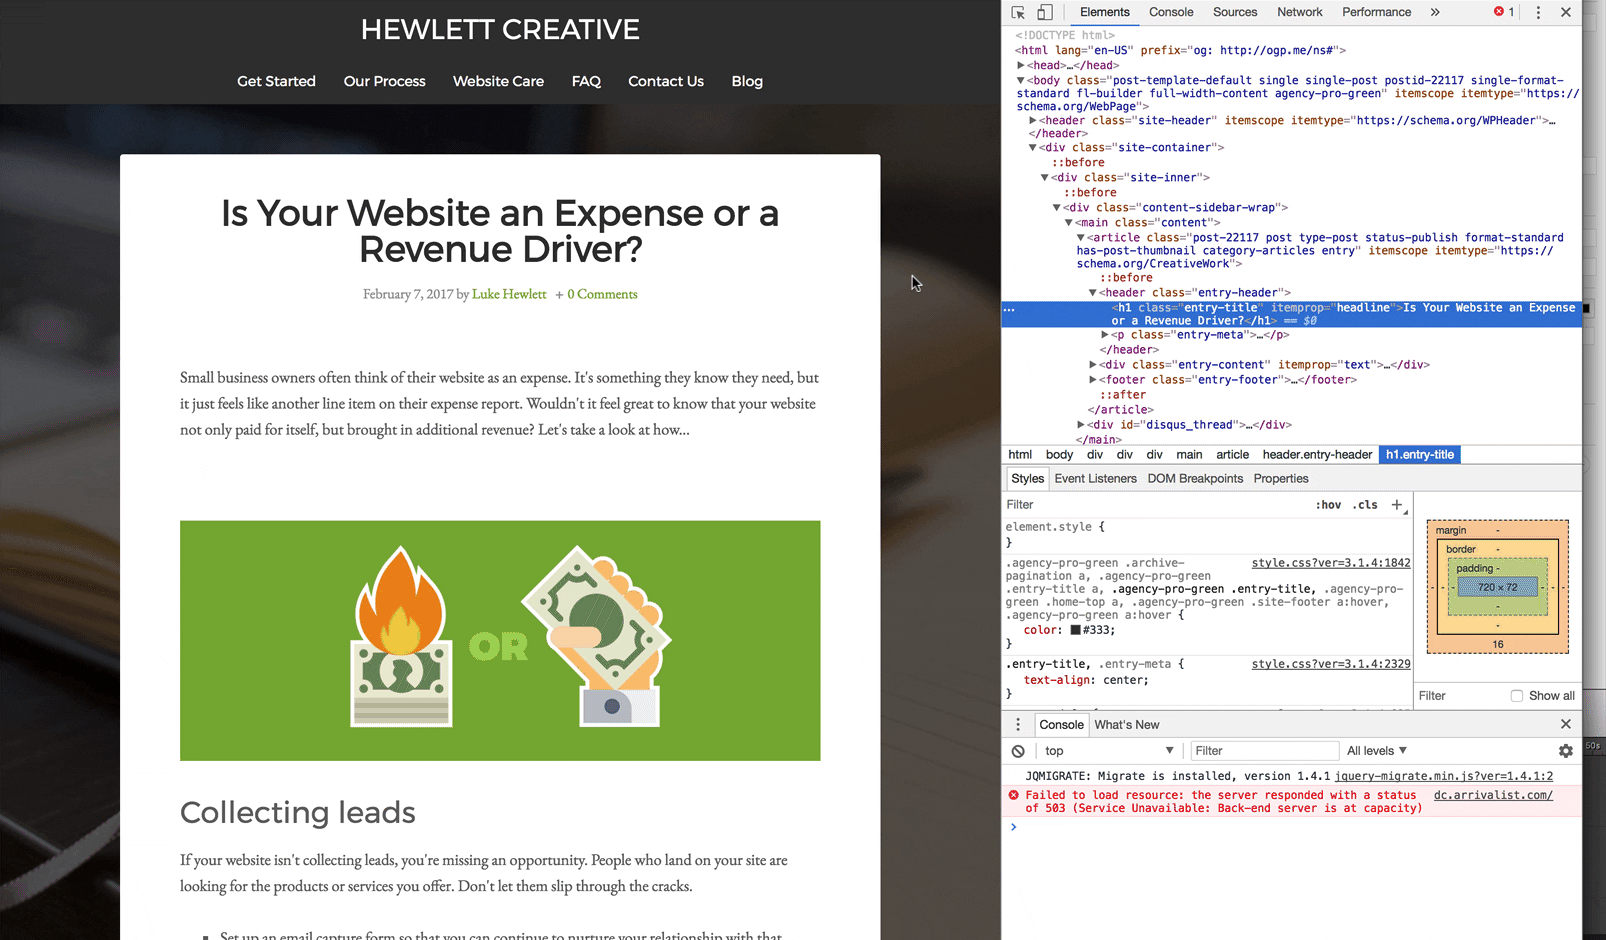
Let’s take a look at how your code looks when you copy/paste from Microsoft Word or Apple Pages. Notice that the headings of the document, even though they look right in the text editor, the code that’s being created is missing the heading tags.
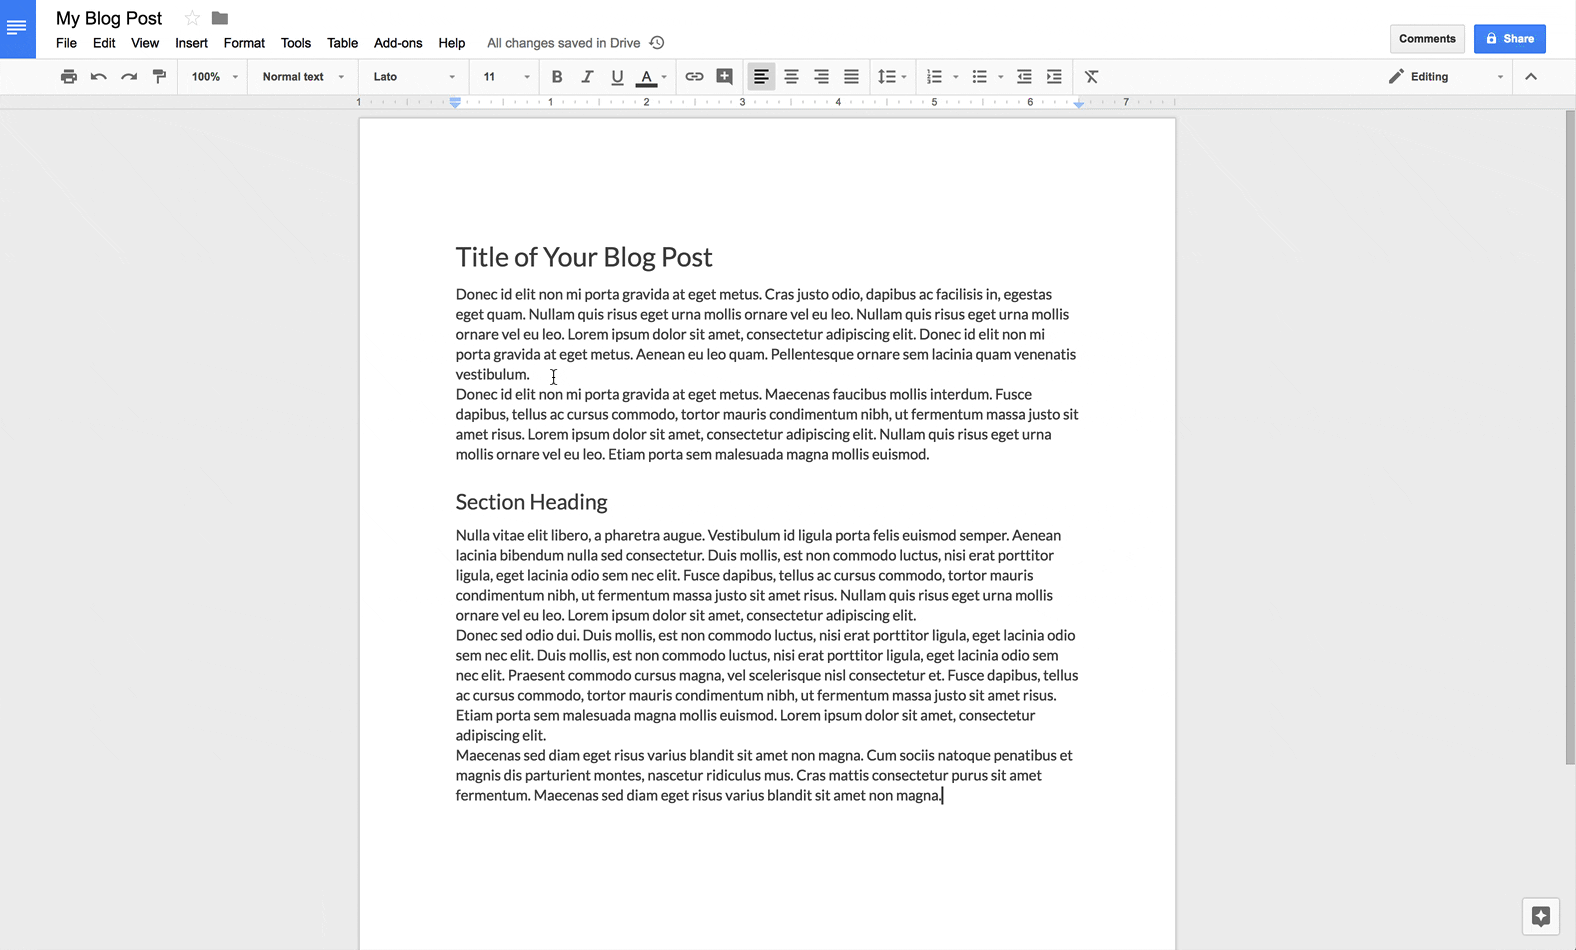
Now let’s take a look at how your code looks when you copy/paste from Google Docs. Notice all the headings of the document are accurately represented by heading tags in the code.
Score! That’s exactly how we need it to look.
How do you use Google Docs for content writing?
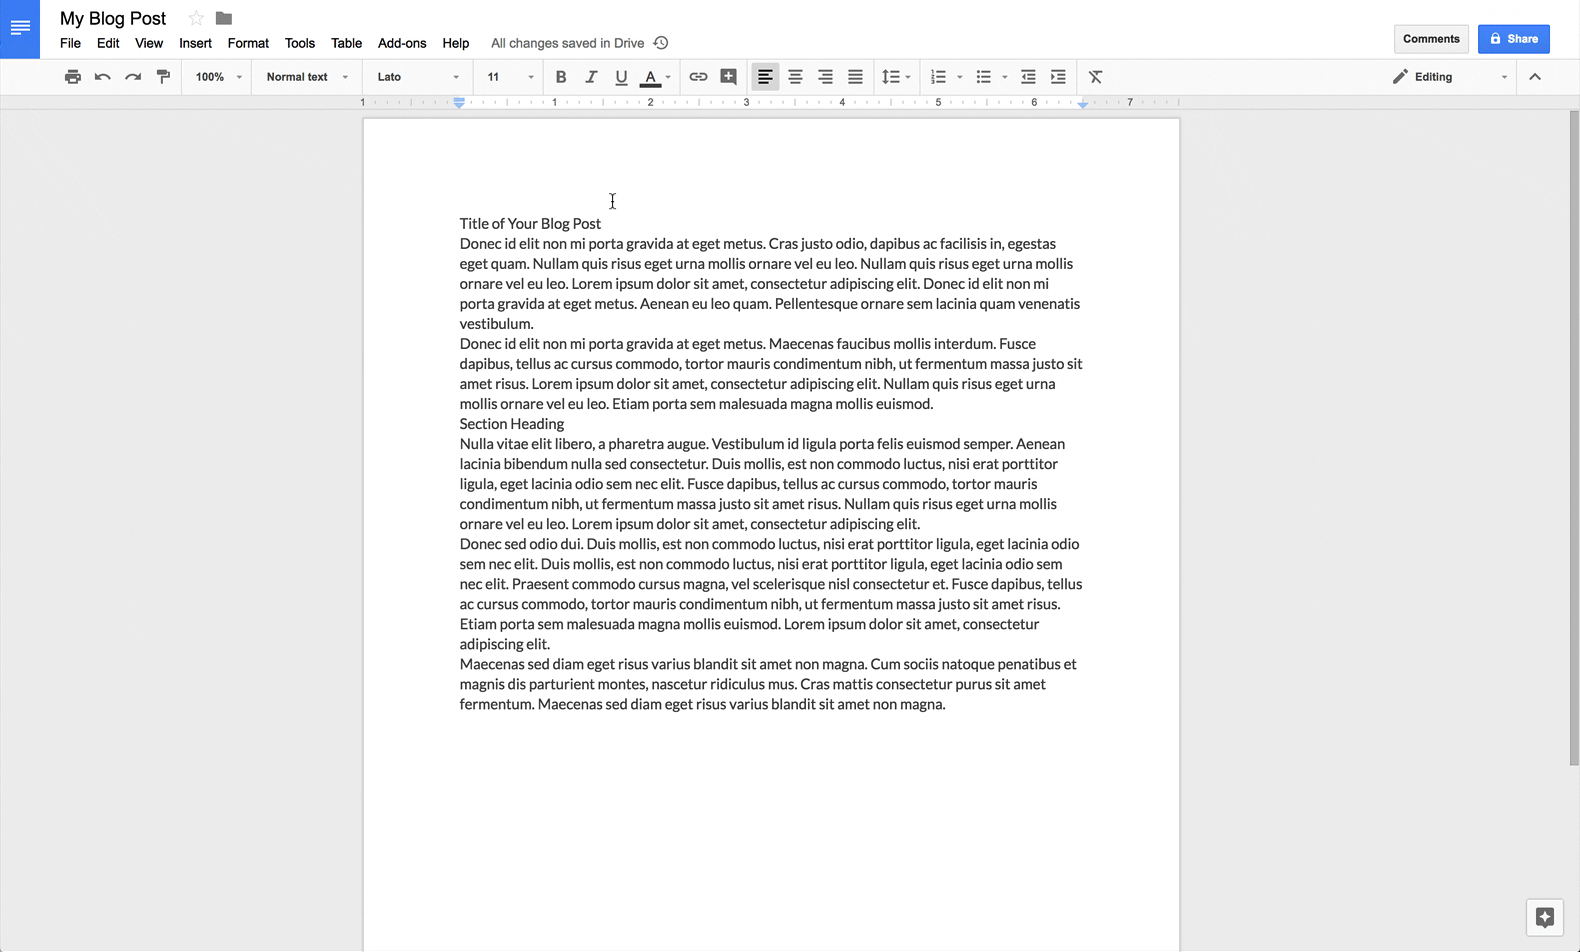
You may have already noticed this, but one point I conveniently glossed over (until now) is how to add those heading styles in Google Docs. If you’re used to using another type of word processor, you might assume that it’s being done for you when you change the font, size, or bold the text. That’s not the case, but adding the tags is quite simple.
After you type a heading, highlight the text, click the dropdown menu labelled “Normal text” and choose the heading style you’d like to use.
Think of your document like an outline. Just like you would not mix Roman numerals and letters outside of their hierarchy, heading tags should not be mixed outside of their nested hierarchy.
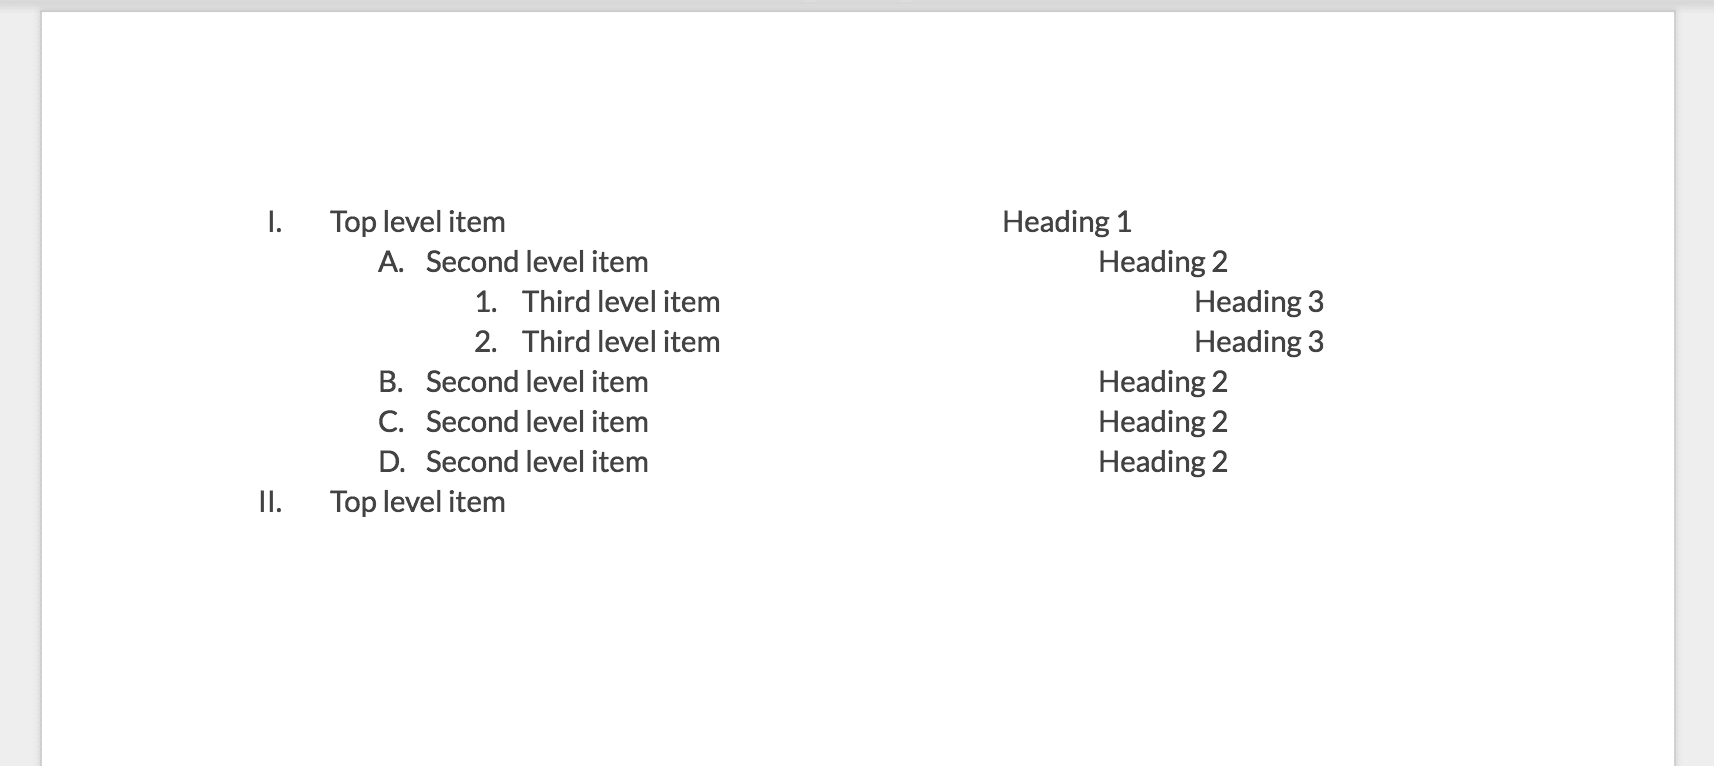
Notice that there is only one Heading 1 in the example shown above. That’s intentional. Google and other search engines use the <h1> to determine the title or main message of the post. Using multiple <h1> tags can confuse search engines and result in lower rankings.
Quick fixes for common problems
There are a couple snags in this process that I’ve noticed trip people. They’re easy to fix, and if you’re stuck on something you don’t see below, don’t hesitate to reach out. I’d be happy to help.
Space after a paragraph
When you first start with Google Docs, you’ll notice that, by default, it doesn’t put any space between paragraphs. This leads people to hitting return twice after each paragraph to provide that visual separation. The problem with that solution is that it adds an additional <p> tag to your blog post when you paste it into your CMS, and we don’t want that. Luckily, there’s an easy work around.
Highlight your paragraph, click on the line-height icon (see below), and choose “Add space after paragraph.” Then, with the paragraph still selected, go to the “Normal text” dropdown. Click the arrow next to “Normal text” and choose “Update ‘Normal text’ to match.”
Now, all your paragraphs will include a little space after them, and you won’t get unwanted <p> tags in your site’s code.
Pro tip: This works with any of the heading styles too. So if you want to change the font, size, color, etc of your headings so they look a little closer to your website’s fonts, just follow the same steps mentioned above.
Clear formatting
Here’s another little bug you may have noticed earlier in the post. When you paste your article into your CMS, sometimes it includes tags. Google Docs uses these to control things like color and font size, but again, we don’t want them in our blog post’s code. Your website already has CSS code that defines the color and size of your text. It keeps it clean and consistent across your site, so you won’t want those tags in there overriding your site’s CSS styling.
Again, the fix for this is quite simple. After you paste your content into the CMS, highlight everything and click the “Clear formatting” button (see below).
![]()
You’ll notice that nothing appears to be happening in the “Visual” tab, but when I switch back to the “Text” tab, the <span> tags have been removed.
Wrap up
We use Google Docs with all of our clients. It comes in especially handy when they need to submit content for a page or a blog post. Following the formatting suggestions in this post can save hours of time when copy/pasting content into your CMS.
Like I mentioned earlier in the article, if you have any Google Doc formatting questions you’re stuck on, I’d love to add them to the Quick Fixes section of this post. I’m sure you’re not the only one struggling with it, so don’t hesitate to reach out.
![]()
Join our FREE small business insights club
Each month we send out DIY tips and tutorials for growing your business online. These are tactics you can implement immediately to start seeing a positive change in your website, social media and other aspects of your online presence.
Sign me up
Preview
modal-